Build a Statement of Work from CRM
Find out how we generate a flexible Statement of Work for our Projects using DocumentsCorePack and CRMPlus365/Dynamics 365.
Transcript
This is Steve Pestillo from P2 Automation. In this video, I’m going to show you how we create our Statement of Work document with the DocumentsCorePack technology. Our Statement of Work is a very detailed document for our larger projects. They take a lot of time to produce and it’s tough to automate, but there is some automation that can be done and I’ll show you how we do that.
The Statement of Work has a cover page that has the Customer Name. Most of them have an initial paragraph that talks about our client. If we’re going to automate our client’s business, it’s important we know about the client and we want to make sure they know that we know what they’re all about. So we put that in the first paragraph. The second paragraph talks about the project itself as a whole, maybe not this particular Statement of Work but the entire project, and again, just so our client knows that we understand what they’re trying to accomplish. Then we talk about the Project Scope for this particular project, usually a paragraph for two. And that gets pretty detailed. We talk about which screens you’re going to get, the Outputs, the Inputs, the Security, etc. No two Statements of Work are the same because no two businesses run the same way and our projects are never the same. So we go through these in detail. We generally put a paragraph on Change Control Management because these projects can get out of scope pretty quick, some assumptions we made when putting the proposal together, and then a few other things, Our Process, What’s Included, What’s Excluded, sometimes we’ll put that in there, and then the Costs. We usually do our licensing on a separate proposal, but we want to let the client know this is the entire cost of your proposal whether you buy your licenses from us or not. And here’s what the cost is going to be to develop the project. So how can we automate something like this? We can partially automate it.
Back here in our CRM system, when we put the project together, we put the Project Name and we know the client, Type of Project, and under the Administration section, we have the Total Labor Amount and then the Subscription Fees and we can have as many as we want, and the Phases of the project itself, along with the Associated Costs. And most of our quotes have a Quote Expiration Date too.
To create this proposal, we click Create Document and select the one-click action for Statement of Work. We have several prompts on this particular document. Most of those paragraphs I showed you earlier go into every proposal, but here’s where we have a chance to choose. Do we want to talk about the customer? If this is a Phase Two project, a lot of times we don’t put that in there. The Project Overview, Scope almost always goes in there, Change Control Management sometimes goes in there if it’s a simple project, we can do a simple quote. Let’s include that. What’s included in the project, what’s not included in the project, Customer Responsibilities, we try to keep that as little as possible, but sometimes there’s responsibilities. You have to let us in, you have to create users, you have to set up security, etc. So we’ll put that in there. The page that describes Our Process, how we do every project. And then if there are Subscription Fees, when are those anticipated to start? Let’s say this one might be September 1st and when can we start the project? Well, we can start on the 25th. Then we hit next.
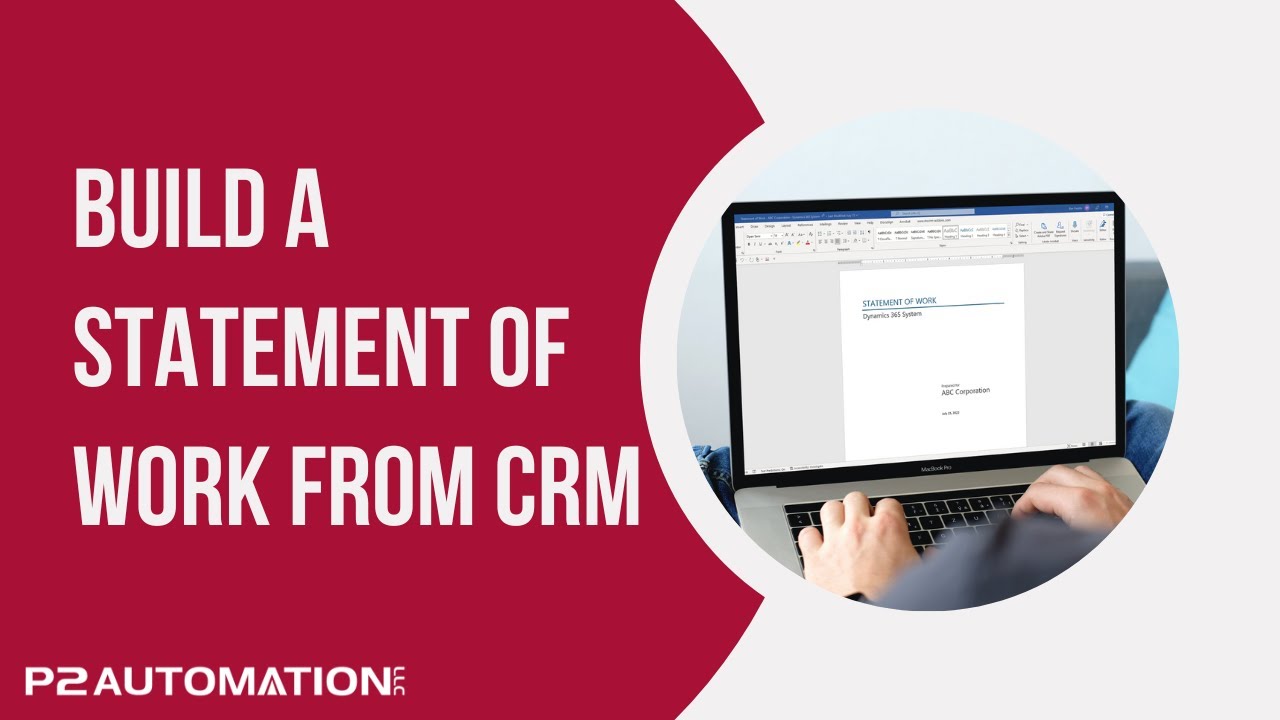
The document gets created, our naming convention is always Statement of Work – Customer Name – Project Name. I view that in Word and you can see the first page is filled in, Project Name, Customer Name, Current Date, and then we don’t spell out each paragraph, we just build the sections. If you want to talk about the client, we have About Customer Name. And then we go in and put a paragraph for the customer, same thing with the Project and the Scope. We do try to outline the things that we’re looking for in the scope to make sure we don’t forget anything major.
Here’s the Change Control Management section. Assumptions was not an option. We always make assumptions when we put a proposal together, so that’s just in there. The Includes and Excludes, Customer Responsibilities, and Our Process. And here’s those Subscription Fees and Development Costs.
Now, as you might imagine in CRM, Subscription Fees is a separate table and we can have as many subscription fees as we want. Development costs is another table and we can have as many of those as we want. For Subscription Fees, we don’t total them. For the Project Cost, we do. This is all handled fluidly inside DocumentsCorePack. Let me show you how that’s done.
Whenever you have a sub entity that you want to pull information from, you can do in a bulleted list like we showed you in a previous video, or you could put it in a table. In this case, we had to trick the system a little bit, this is actually two tables, one for the header and one for the lines. And we did that because we wanted the formatting to look the way we wanted it to look, which is a line above and below on the top, and then no lines underneath.
If I go over to Layout, I’ll show you the grid lines so you can see that table. It’s one row, one row here. And then we could total this as well, but we just put the project total down here. If I click on this first one, this information comes from the Subscription Fees and where do I get that? Over here under Additional.
We have our Related Tables, Subscription Fee, and Development Costs. If I click Subscription Fees, there’s all the fields I can pull over and you can see we’ve already put them in here. All we have to do is put them into one row. DocumentsCorePack handles the data. If there’s one row or dozens of rows, DocumentsCorePack handles it. The same thing happens down here.
Now, how do we do those sections? The About, the Project Overview, the Project Scope, etc.
So the first thing we did is we created prompts for all the check boxes. We talked about that in a previous video too. For the about section, if I click on that and go to the properties, as you can see, the About section is linked to the About field. And the Project section is linked to the Project field. And this can work with fields or prompts, but this was a prompt so I’m going to go down here to insert a field, click Computed Item, Prompt Field, About. And it puts the About Field there. If I click on it, I can actually get rid of the field and type in whatever I want. I’ll do About and then over here to the right, go up to the client and grab the company name. Then I’ll format it to be a header. And that’s it. If I check the box, this appears, if I don’t check the box, it doesn’t appear. It’s that simple.
If you’d like to know how we can automate your small business with DocumentsCorePack, reach out to us at www.p2automation.com.


