Generate Simple Documents with your CRM
Learn how we create and save a completed Master Service Agreement and Nondisclosure Agreement from our CRM using DocumentsCorePack.
Transcript
This is Steve Pestillo from P2 Automation. Welcome to our short miniseries on how we use a product called DocumentsCorePack from mscrm-addons.
As a rule, we don’t recommend solutions to our clients unless we use them ourselves and DocumentsCorePack is no exception. We have five or six documents right now in Word that we generate on a regular basis. And as you might imagine, we have processes for each, including a naming convention and storage location on our SharePoint environment.
We had these processes in place long before we became users of DocumentsCorePack and like you, we weren’t really crazy about changing our process to fit a software program. Luckily with DocumentsCorePack, we didn’t have to. It literally handled every situation that we threw at it.
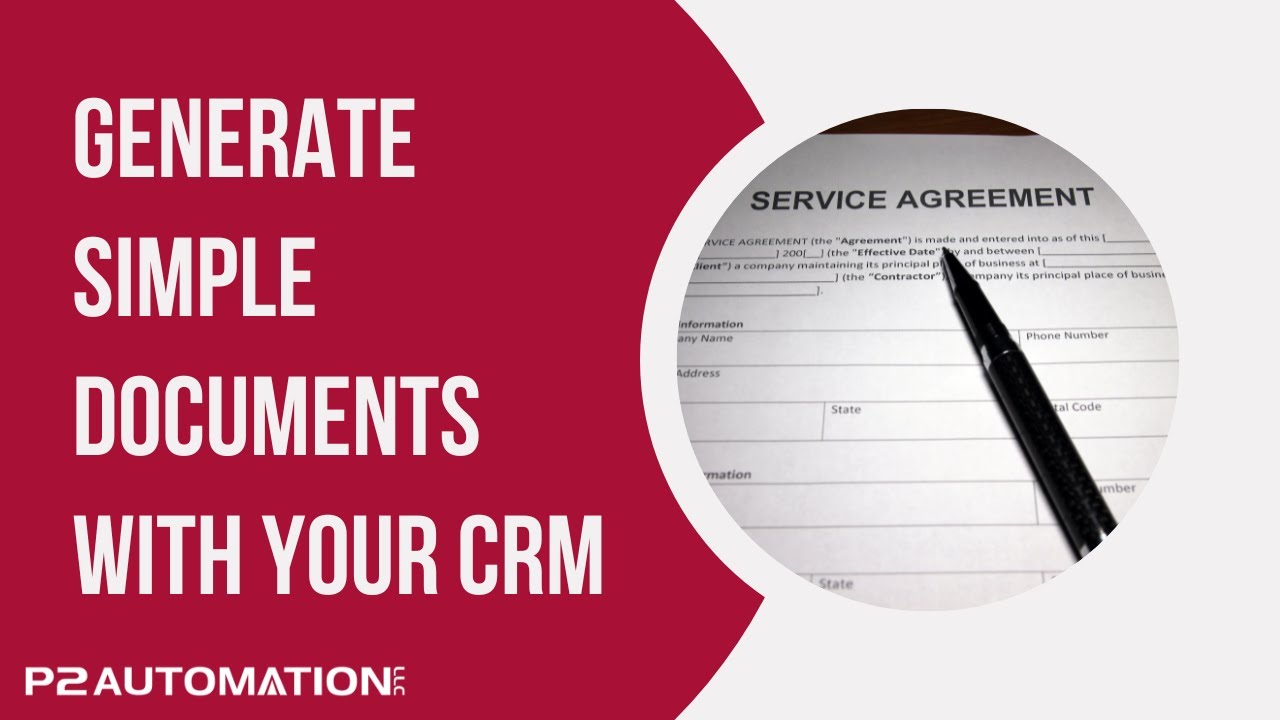
In this miniseries, I’ll show you those situations along with a little bit of technical background so you can try things for yourself. Starting with our Master Services Agreement. Our Master Service Agreement is a legal document that we send to our clients at the beginning of the relationship that covers all of our services. Our Master Service Agreement is a simple document with a few fields that I have highlighted here on the first page. We call it simply Master Service Agreement, nothing fancy. And we put it in a sub folder called Legal, which is stored inside the client folder in SharePoint. In the case of ABC Corporation, a folder was created called ABC Corporation, and if I click in that folder, you’ll see there’s nothing in it including the Legal folder.
So how do we create this document?
Back on the Account record, we simply click Create Document and three one-click actions will appear. One-click actions is a feature of DocumentsCorePack that lets you create these documents with, as the name implies, one click. In this case, I’ll click the Master Service Agreement. Process runs for a few seconds and the way we configure the one-click action is to create a Word version of the document, which we can view with a simple click. As you can see, it looks just like the document I showed you. It’s called Master Service Agreement and all of ABC Corporation’s information comes over. All the rest of the language is standard verbiage, and we didn’t include any other fields, including the signature line at the bottom because we use DocuSign.
If I flip back over to SharePoint, you could see the DocumentsCorePack created that Legal folder for us. And if I click it, there’s the Master Service Agreement. That document also appears under files. And it doesn’t appear right away, this is still a web app, so I’m going to click over here and refresh it. But as soon as I do that, you can see the Master Service Agreement shows up. It’s that simple.
For a little bit of technical information, I could show you how we set up this document with the fields. DocumentsCorePack provides an add-on for Word so you actually set up these documents right within Word. You can see on the right hand side of the screen, we have our Field Properties and all of these fields here, the Name, the Address Line 1, Line 2, City, State, and Postal Code all come right from the Account record. So it’s as simple as finding those fields over here on the right and clicking. It doesn’t get much easier than that.
In a similar fashion, we use a Nondisclosure Agreement as our second legal document, and that runs the same way. Create Document, it’s a Mutual NDA. We save this also as a Word document. We could save it as a PDF or even an image document, but we chose to say this is a Word document so we can make changes to it if needed. And if I view this in Word, there’s our Nondisclosure Agreement, similar information on the top of the screen. And we do put the customer name at the bottom, but that’s it. Everything else has to be done in DocuSign. And that’s very similar as far as saving to the legal document folder. The name is a little bit different, the Master Service Agreement always has the same name, Master Service Agreement, but we do put the customer name in the NDA and I’ll show you where we do that. Back here in Word, I’ll open up the template for the Mutual NDA. And if I click on MS-CRM ADD-ONS and show the field properties, at the top of the screen, we see the advanced template settings. Click that, and you’ll see under the document name and subject that will put in the variable name, the company name and space NDA. It’s that simple. And for the Legal folder, it’s as simple as clicking on the sub folder and typing the word legal down here.
If you’d like more information on how we can automate your business with DocumentsCorePack, reach out to us at www.p2automation.com.