This article was updated to reflect current Dynamics 365 and Power Apps functionality.
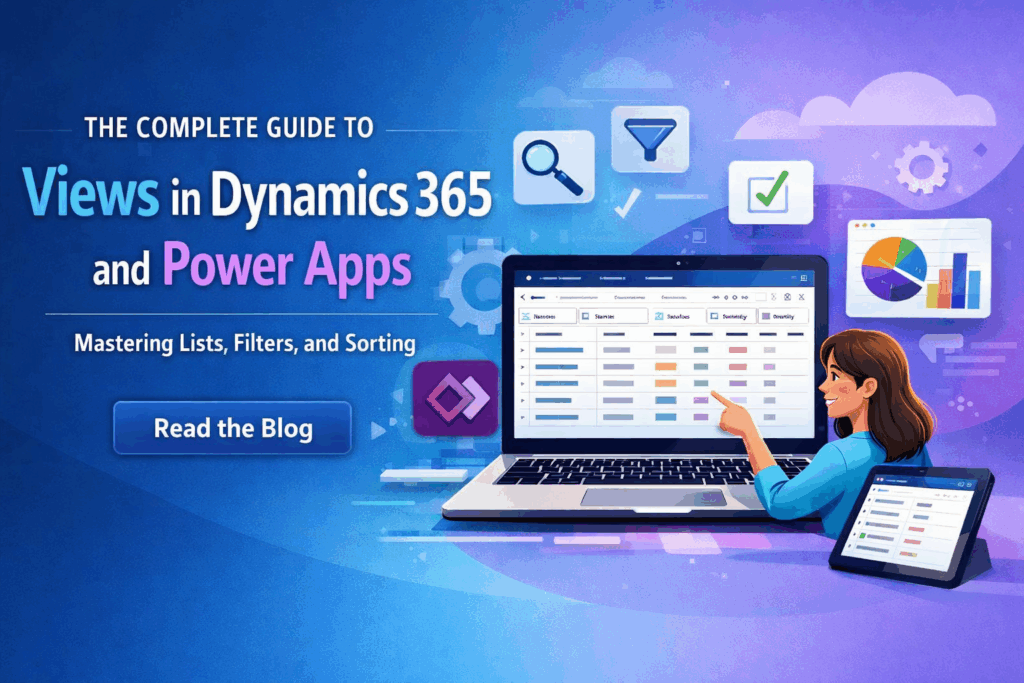
This article is part of our complete guide to Views in Dynamics 365 and Power Apps.
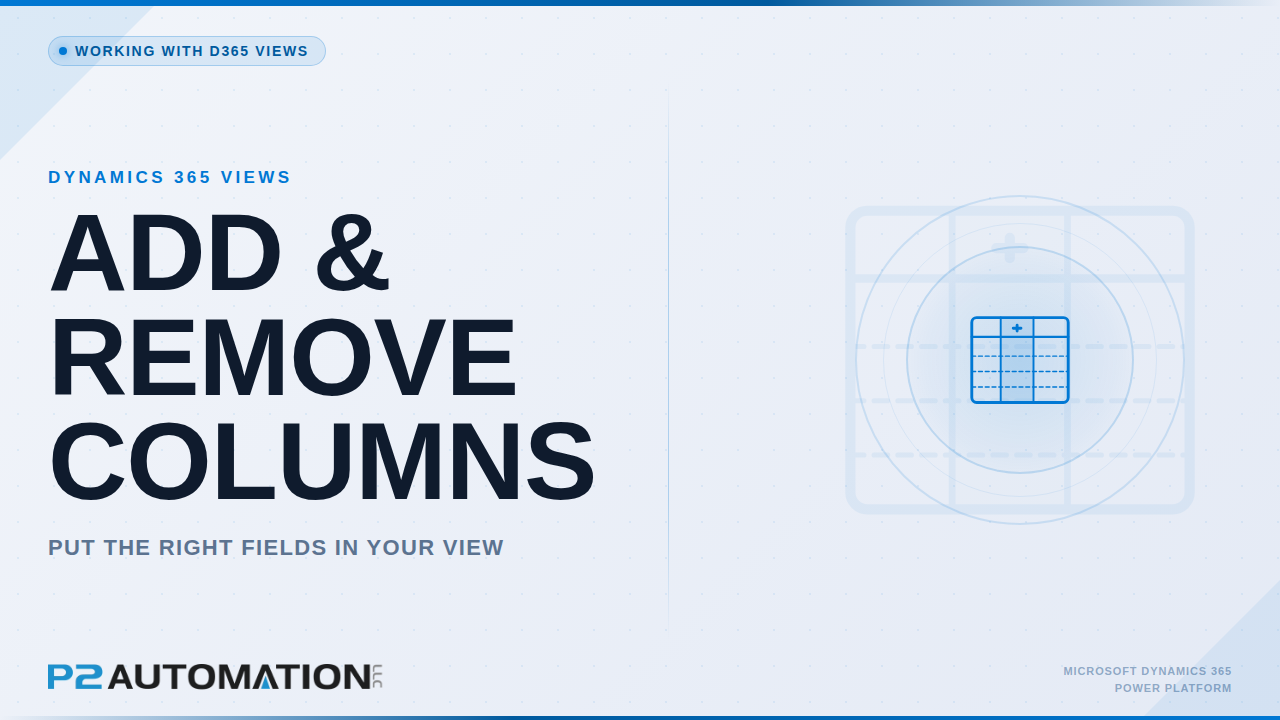
One of the fastest ways to make Dynamics 365 and Power Apps more useful is by adjusting the columns in your views. The right columns let you see the information you care about at a glance, without opening individual records.
In this article, we’ll walk through how to add, remove, and rearrange columns — including pulling in data from related tables.
Why Column Choices Matter
Every view starts with a predefined set of columns, but those defaults don’t always match how people actually work.
Customizing columns allows you to:
- See the most important information immediately
- Reduce unnecessary scrolling
- Avoid opening records just to check basic details
Even small column changes can have a big impact on day-to-day efficiency.
Editing Columns in a View
Let’s start with a simple example.
Imagine you’re looking at a list of Active Contacts. By default, you might see a single Full Name column. But in some cases, it’s more helpful to see First Name and Last Name as separate columns.
To do this, open the view and choose Edit columns.
From there, you can:
- Add new columns
- Remove columns you don’t need
- Reorder columns to control how they appear in the list
Because there can be a lot of available fields, using search makes it much easier to find what you’re looking for.
Once added, new columns usually appear at the bottom of the list, but you can move them up into the position that makes the most sense.
Understanding Temporary Changes
After making changes, you may notice an asterisk (*) next to the view name.
This indicates that:
- The view has been modified
- The changes haven’t been saved yet
If you navigate away from the view without saving, your changes may be lost. This is especially important when working with personal views, where you control whether the changes are kept.
Adding Columns from Related Tables
Not all useful information lives on the same table.
For example, when working with Contacts, you might want to see the company’s website — even though that information actually belongs to the related Account record.
To do this:
- Edit the columns in the view
- Choose Add related column
- Select the related table (in this case, the Account tied to the Contact)
- Search for and add the field you need
While the navigation to related tables isn’t always intuitive at first, this feature is incredibly powerful once you get comfortable with it.
When to Use Related Columns
Adding related columns is especially useful when:
- You need context without opening multiple records
- You want to compare related information across many records
- You’re working with lists that support decision-making
It’s a great way to bring the right information together in one place.
Personal vs. Global Views
The steps for adding and removing columns are similar whether you’re working with personal views or global views, but permissions matter.
- Personal views can be modified by individual users
- Global views typically require system administrator or customizer access
Knowing which type of view you’re working with helps avoid confusion when saving changes.
Final Thoughts
Customizing columns is one of the simplest — and most effective — ways to make views work for you instead of against you.
Once you’re comfortable editing columns and adding related data, you’ll find that many tasks can be handled directly from a list view, saving time throughout the day.
If you’d like help designing views that support real-world workflows in Dynamics 365 and Power Apps, P2 Automation can help.
Visit www.p2automation.com to learn more.